Views: 0 Author: Site Editor Publish Time: 2025-09-13 Origin: Site


Removing a door lever handle is a basic DIY skill that comes in handy for replacement, repair, or painting tasks. Although the process is usually simple, lever handles can have various mounting mechanisms. This guide will take you through the steps for the most common types, helping you identify your handle and remove it without causing any damage.

Flat-Head Screwdriver: Useful for prying off caps and pressing down clips.
Phillips Screwdriver: For taking out screws.
Allen Keys (Hex Keys): These are the most frequently used tools for lever handles and are often included with the original handle.
Small Nail or Paperclip: Helps in accessing release holes.
Needle-Nose Pliers: Great for grasping small parts.
Masking Tape: Protects the door's finish from scratches.
The removal method depends entirely on how the lever is attached to the internal mechanism. There are three main types:
Hidden Set-Screw (Most Common): The lever is secured by a small setscrew that is not visible.
Pinhole Release (Very Common on Modern Handles): A tiny, often unnoticeable hole is used to release a spring clip.
Visible Set-Screw: The easiest type, where the setscrew is clearly visible.
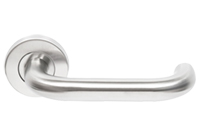
Check the side of the lever handle, near where it meets the rosette (the decorative backplate). You should spot a small hole with a setscrew inside. This is what you need to work with.
This requires some detective work. The release mechanism is almost always located on the underside of the lever or the rosette.
Examine the Rosette: Does the entire rosette rotate? Or is it a fixed plate? Try holding the rosette and turning it counterclockwise. If it spins, it is a threaded rosette.
Look for a Tiny Hole: Shine a light on the underside of the lever handle and the rosette. You are searching for a pinhole, no larger than 2mm. You might be able to feel it with your finger before you see it.
Look for a Notch or Slot: Some levers have a small slot where you can insert a flat-head screwdriver to pry off a decorative cap or cover.

Insert the appropriate-sized Allen key into the setscrew and turn it counterclockwise until it is loose. You don't have to remove it completely; just loosen it enough so it no longer holds the square spindle. Once loose, the lever should pull straight off.
This is the most challenging part. Take your small Allen key, paperclip, or nail and insert it straight into the pinhole. Push firmly inward. You will feel resistance as you press down a hidden spring clip inside.
While maintaining pressure on the clip, firmly pull the lever handle straight outward away from the door. It should slide off the square spindle.
If it doesn't move, try wiggling it slightly while keeping pressure on the clip. Don't force it, as you might break the clip.
Grip the rosette firmly and turn it counterclockwise. It will unscrew from the mounting plate behind it. Once it is completely unthreaded, the entire assembly (lever and rosette) will pull away, revealing the mounting screws.
Use a flat-head screwdriver (protected with tape to prevent scratches) to gently pry off the decorative cap. Behind it, you will find the mounting screws.
With the lever handle(s) removed, you now have clear access to the rosette or backplate.
You will see two obvious screws on the mounting plate. These are the main mounting screws that hold the entire handle mechanism together by passing through the door.
Use your Phillips screwdriver to completely unscrew and remove these two screws.
Once these screws are out, the entire handle assembly on both sides of the door will be loose.
Gently pull the side you are working on away from the door.
Go to the other side of the door and pull that part of the handle out.
You can now remove the entire handle set and the square spindle that connects the two levers through the latch mechanism.
The latch is the metal plate on the edge of the door. You may not need to remove it if you are only replacing the handles.
To remove it, locate the two screws on the face of the latch (on the edge of the door).
Unscrew them completely.
The latch mechanism can now be pulled straight out of the door.

The Lever Won't Budge: You haven't located the correct release mechanism. Double-check for a hidden pinhole or a threaded rosette. Look up the brand and model of the handle online; installation manuals often have removal instructions.
I Pushed the Pinhole, but Nothing Happens: Make sure you are pushing straight in and with sufficient force. The spring clip can sometimes be stiff. Try spraying a small amount of lubricant (like WD-40) into the pinhole, wait a minute, and try again.
The Rosette is Stuck: If it's a threaded rosette and won't turn, it might be painted over. Carefully use a utility knife to score around the edge where the rosette meets the door to break the paint seal. Then try turning it again.
The Screws are Stripped: If the mounting screws are stripped, place a rubber band between the screwdriver and the screw head for extra grip. If that doesn't work, you may need to use a screw extractor kit.
By following these steps methodically, you can successfully remove almost any interior door lever handle. The key is to be patient and correctly identify the type of mechanism you are dealing with before applying force. Once removed, you can proceed with installing new hardware or servicing the existing mechanism.
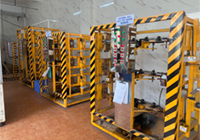
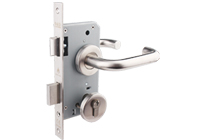
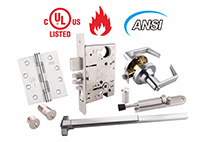
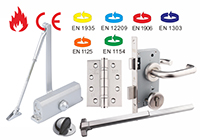
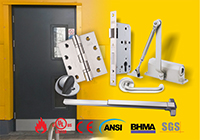
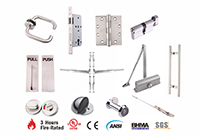
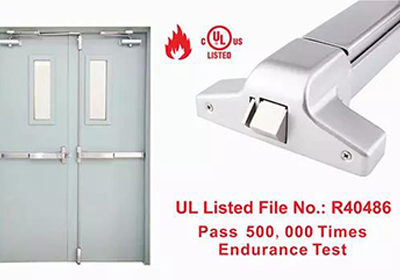
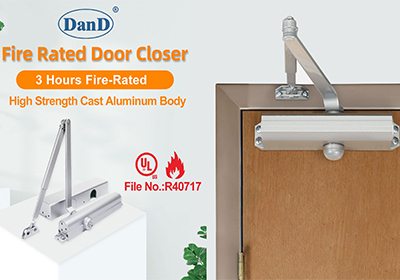
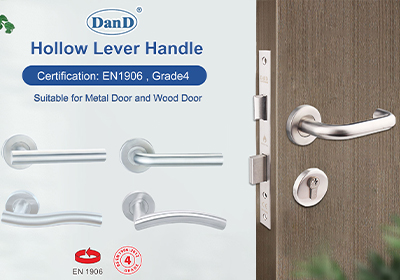
D&D Door Lever Handle - BS EN1906 Grade 4 300,000 cycles test, EN1634 Fire Rated 183mins for wooden compsite door and fire rated 260mins for steel door, EN1670 Corrosion Resistance 240 hours.


For further information about lever handle or any of our services, please click here.
Contact: David Jian
Mob: 0086-139 2903 7292
Email: sales@danddhardware.com