Views: 0 Author: Site Editor Publish Time: 2026-01-20 Origin: Site


When installing fire exit hardware, precision isn't just about aesthetics—it's about saving lives. A panic bar that is installed too high or too low can impede evacuation during an emergency, potentially leading to tragic consequences.
Whether you are an architect, a building manager, or an installer, understanding the precise height requirements for door push bars is critical for compliance with safety codes. But beyond just the numbers, there are nuances to installation that ensure the device functions correctly for years to come.
In this guide, we will answer the critical question: how high up is a push bar on a door? We will also explore the standards set by international safety bodies, the differences between various panic devices, and how to choose the right hardware for your specific needs.
The installation height of a panic bar—also known as a push bar or crash bar—is governed by strict building codes and safety standards. While these can vary slightly depending on your location (e.g., European vs. American standards), the goal remains the same: ensuring the bar is easily accessible to the widest range of people, including children and those with mobility issues.
Generally, the center of the push pad or crossbar should be positioned between 34 inches (864 mm) and 48 inches (1219 mm) above the finished floor level.
However, for optimal usability and compliance with most international standards like ANSI/BHMA (American National Standards Institute) and EN 1125 (European Standard), the recommended height is often more specific:
Standard | Recommended Height Range (from finished floor) | Notes |
|---|---|---|
ANSI A156.3 (USA) | 34" to 48" (864 mm - 1219 mm) | Typically installed around 40-42" |
EN 1125 (Europe) | 900 mm to 1100 mm | Measured to the center of the bar |
ADA Compliance | Max 48" (1219 mm) | Ensures accessibility for wheelchair users |
Why this height matters:
If the bar is too high, children or people in wheelchairs cannot reach it to release the latch. If it is too low, the force required to open it might be applied awkwardly, causing the door to jam or requiring excessive force to operate.
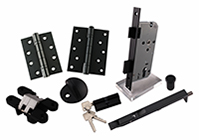
Not all panic bars are created equal. The type of device you choose often dictates specific installation nuances, even if the general height requirement remains consistent.
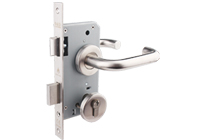
A rim exit device acts as a surface-mounted latch mechanism. It is one of the most common types of panic hardware because it is easy to install and maintain. The latch bolt projects from the device into a strike plate mounted on the door frame.
Best for: Single doors or double doors with a mullion.
Installation Tip: Ensure the strike plate aligns perfectly with the latch at the correct height to prevent binding.
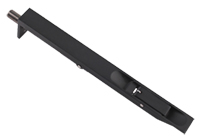
These devices latch at the top and bottom of the door frame, offering greater security and stability for tall doors. They come in two variations: Surface Vertical Rod (SVR), where the rods are visible, and Concealed Vertical Rod (CVR), where rods are hidden inside the door.
Best for: Double doors without a center mullion.
Installation Tip: For double doors, the standard vertical rod length is often around 1045 mm. Crucially, the rod length should be no less than 2/3 of the door width to ensure proper leverage and operation.
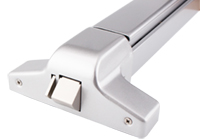
Cross Bar: A classic design with a horizontal bar that extends across the width of the door.
Touch Bar: A modern, streamlined design where the "push" mechanism is integrated into the housing unit itself. This is often preferred for its durability and lower profile.

Installing panic hardware involves more than just measuring height. Here are answers to the most common questions regarding door push bars and fire exit hardware.
While they look similar, the distinction lies in their certification and application.
Panic Hardware: Designed for "fast release" without a key. It typically has a "dogging" feature that allows the latch to be held retracted, keeping the door unlocked for push-pull operation during business hours.
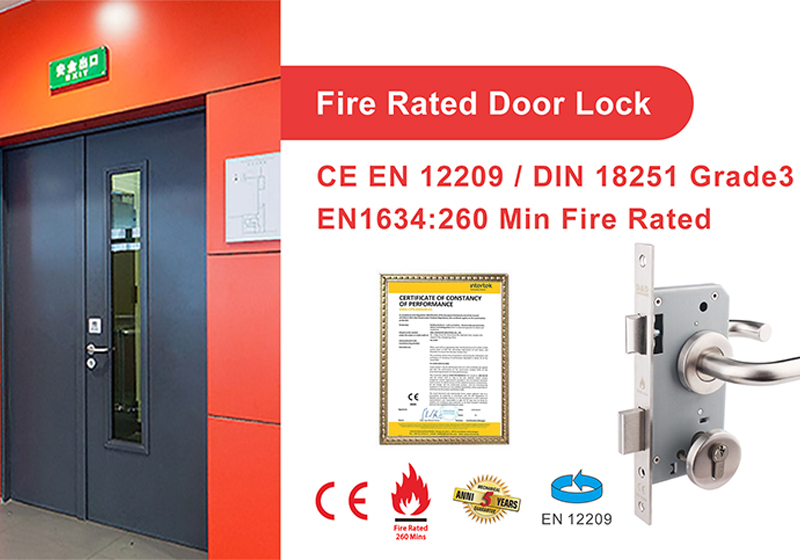
Fire Exit Hardware: Must be used on fire-rated doors. By code, fire exit hardware cannot have a mechanical dogging feature (holding the latch open) because a fire door must positively latch every time it closes to prevent the spread of fire and smoke.
Yes, most modern panic bars are designed to be field-sizable.
Procedure: You can typically cut the non-mechanism end of the bar to fit the width of your door.
Important: Always refer to the manufacturer's instructions. After cutting, ensure the end cap is securely fastened with screws to prevent the bar from sliding out of the mechanism or causing injury.
Standard Sizing: A standard vertical rod panic bar is often installed on a 1045 mm wide door but can be shortened.
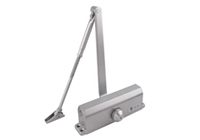
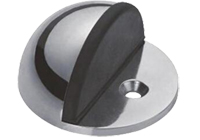
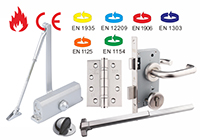
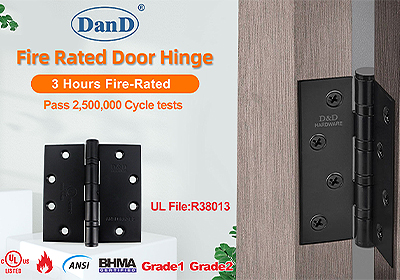
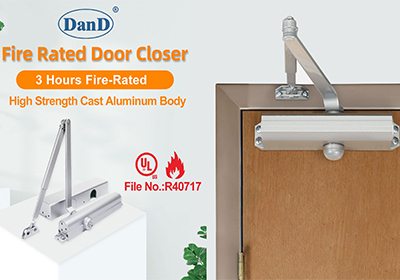
Yes. For fire-rated doors, a door closer is mandatory. The panic bar allows people to exit, but the door closer ensures the door returns to a closed and latched position immediately afterward, maintaining the fire barrier.
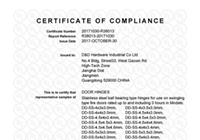
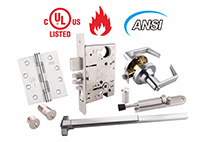
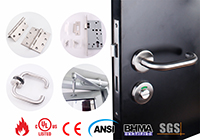
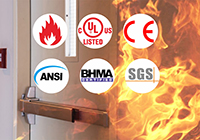
To ensure your building is compliant and safe, you must use certified hardware.
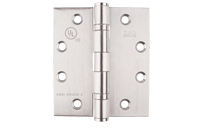
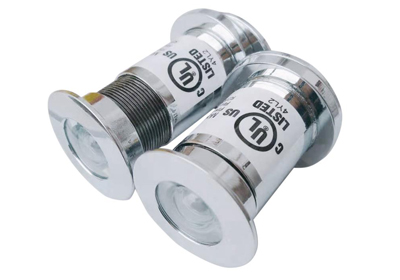
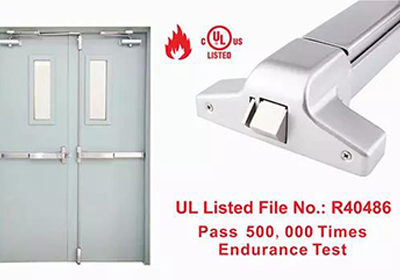
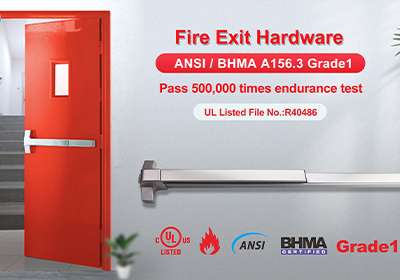
UL Listed (UL 305 / UL 10C): Essential for the US and Canadian markets. UL 305 covers panic function, while UL 10C covers fire rating (often up to 3 hours).
CE Marked (EN 1125): Mandatory for the European market. It certifies that the device has been tested for safety and durability (often 200,000+ cycles).
1
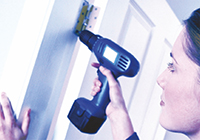
Before you drill the first hole, run through this quick checklist to ensure a successful installation:
Verify Door Width: Measure your door width to ensure the device covers at least 60% of the door width (a requirement in many codes).
Mark the Height: Measure up from the finished floor (34" to 48") and mark your centerline.
Check Handing: Determine if your door is Left Hand Reverse (LHR) or Right Hand Reverse (RHR) and ensure your device matches or is reversible.
Template Alignment: Use the manufacturer's template to mark screw holes. Accuracy here is vital for smooth latch operation.
Test the Latch: Once installed, the latch should retract fully with light pressure (usually less than 15 lbs of force).
Secure End Caps: If you cut the bar, double-check that the end cap is screwed on tight.
1
When lives are on the line, the quality of your hardware is non-negotiable. Cheap, uncertified imitation products often flood online marketplaces, but they lack the rigorous testing required for safety compliance.
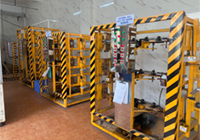
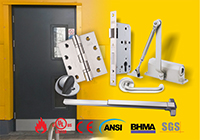
D&D Hardware offers a comprehensive range of certified panic exit devices that meet global safety standards.
Durability: Their CE EN1125 panic exit devices are tested for over 200,000 cycles.
Fire Rating: Products are EN1634 fire-rated up to 240 minutes and UL 10C rated for 3 hours.
Corrosion Resistance: Tested for 240 hours of salt spray resistance (EN1670), making them suitable for harsh environments.
Whether you need a rim exit device, a vertical rod system for double doors, or specialized UL Listed fire exit hardware, choosing a reputable manufacturer ensures that your installation passes inspection and, more importantly, keeps occupants safe.
So, how high up is a push bar on a door? The answer is between 34 and 48 inches from the floor—but the implications of that measurement are huge. Proper height ensures that in a moment of panic, when adrenaline is high and visibility might be low, the door will open immediately and effortlessly.
From schools and hospitals to shopping centers and office towers, panic bars are the unsung heroes of building safety. By following the correct installation height guidelines and selecting certified, high-quality hardware, you are building a safer environment for everyone.
For more information on selecting the right panic hardware for your project, or to request a quote for UL Listed and CE Certified devices, visit D&D Hardware.