Views: 0 Author: D&D Hardware Publish Time: 2025-11-08 Origin: D&D Hardware


Self-closing door hinges are a convenient feature, especially on garage entry doors or screen doors, ensuring they shut automatically for safety and energy efficiency. However, there might come a time when you need to remove or replace one. Maybe the spring is broken, the door is closing too fast, or you're simply updating your door hardware.
Whatever the reason, removing a self-closing door hinge can seem intimidating, especially with the built-in spring mechanism. But with the right tools and a clear set of instructions, it's a straightforward task that most homeowners can handle themselves. This guide will walk you through the entire process, from understanding how these hinges work to safely removing them without damaging your door or frame.

By following these steps, you'll gain the confidence to tackle this DIY project, saving you the time and expense of hiring a professional.
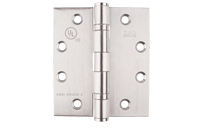
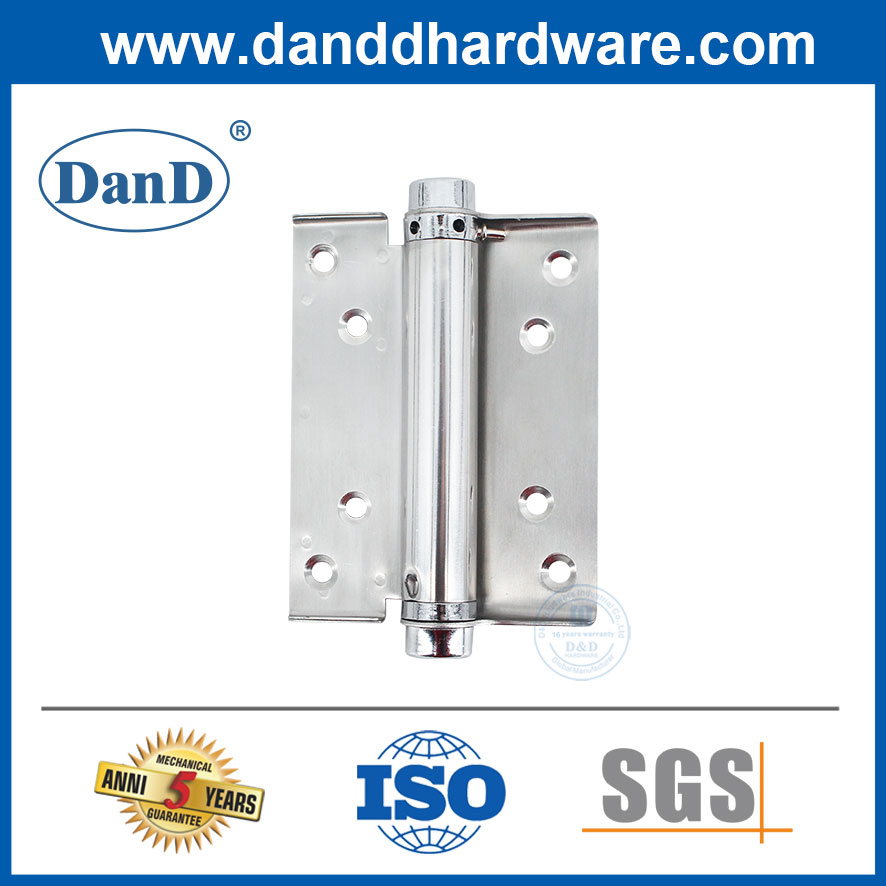
Before you start unscrewing anything, it’s helpful to understand what you’re working with. A self-closing door hinge, also known as a spring-loaded hinge, looks similar to a standard hinge but contains an internal spring. This spring stores tension when the door is opened and then uses that stored energy to pull the door shut automatically.

The tension in the spring is usually adjustable. You can make the door close faster and with more force or slower and more gently. This adjustment is typically done using a small tension pin and an Allen wrench (also known as a hex key). This same tension mechanism is what you'll need to manage when you remove the hinge. Properly releasing this tension is the most critical step for a safe removal.
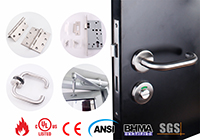
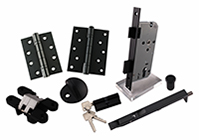
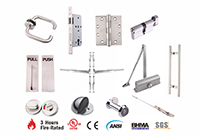
Gathering your tools before you start will make the process much smoother. Here’s what you’ll need:
· Safety Glasses: Essential for protecting your eyes from any flying debris or a spring-loaded pin.
· Allen Wrench (Hex Key): This is used to adjust and release the tension in the hinge. The correct size usually comes with the hinge, but a standard set should have what you need.
· Tension Pin or Small Nail: The small metal rod that holds the spring tension. If you've lost the original, a small, sturdy nail can work as a substitute.
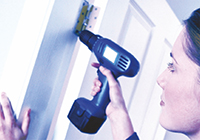
· Screwdriver or Power Drill: To remove the screws holding the hinge to the door and frame. A Phillips head is most common for hinge screws.
· Wooden Blocks or Shims: To prop the door up and hold it steady once the hinges are removed. This prevents the door from falling and causing injury or damage.
· Pliers (Optional): May be useful for removing a stubborn tension pin.
· A Helping Hand (Recommended): Doors can be heavy and awkward to manage alone. An extra person can help support the door, making the process safer and easier.

With your tools ready, you can now begin the removal process. Follow these steps carefully to ensure a safe and successful outcome.
First, make sure the door is closed and stable. Place wooden blocks, shims, or door stoppers under the bottom of the door on both sides. This will support the door's weight and keep it from moving or falling when you start removing the hinges. If you have a helper, ask them to hold the door steady throughout the process.
This is the most important step for your safety. A self-closing door hinge is under tension, and simply unscrewing it can cause the hinge to snap open forcefully.
1.Locate the Tension Adjustment Hole: Look at the top or bottom of the hinge barrel. You will see a series of small holes arranged in a circle. One of these holes will have the tension pin inserted.
2.Insert the Allen Wrench: Place the correctly sized Allen wrench into the hexagonal slot in the center of the hinge barrel.
3.Turn to Release Tension: Turn the Allen wrench in the direction that tightens the spring slightly. This will relieve the pressure on the tension pin, allowing you to remove it. For most hinges, this means turning it towards the door jamb. You should feel the resistance from the spring.
4.Remove the Tension Pin: While holding the Allen wrench in place, use your other hand (or pliers) to pull the tension pin out of its hole.
5.Slowly Unwind the Spring: Once the pin is removed, slowly and carefully allow the Allen wrench to turn back in the opposite direction. You will feel the spring unwinding. Let it unwind completely until there is no more tension. The hinge should now move freely like a standard hinge.
Repeat this process for any other self-closing hinges on the door.
Now that the tension is released, you can safely remove the hinge screws. It’s generally best to start with the hinge attached to the door frame (jamb) first.
Using your screwdriver or power drill, carefully remove the screws holding the hinge leaf to the door jamb. Start with the middle hinge if there are three, then move to the top and bottom. Keep a hand on the door to ensure it remains stable.
With the jamb side of the hinge free, you can now remove the screws from the door itself. Ask your helper to firmly support the full weight of the door. Carefully unscrew the hinge leaf from the edge of the door.
Once all the screws are removed, gently lift the old hinge away. If you are only removing one hinge, you can now proceed to the next step. If you are removing all hinges, carefully carry the door away with your helper and set it down in a safe place.
What you do next depends on your project goals.
· Replacing the Hinge: If you are installing a new self-closing door hinge, simply reverse the process. Screw the new hinge into the door and jamb, then follow the manufacturer's instructions to set the new spring tension.
· Switching to a Standard Hinge: If you are replacing it with a standard hinge, make sure the size and screw hole pattern match the old one. This will make installation quick and easy.
· Removing the Hinge Permanently: If you are not replacing the hinge at all, you will be left with a recessed area (mortise) on the door and jamb. You can fill this with wood putty or a piece of wood cut to size. Sand it smooth and then paint or stain it to match the surrounding area for a clean finish.

· Work on One Hinge at a Time: If you are simply replacing one faulty hinge on a door with multiple hinges, it's safer to work on them one by one. This keeps the door supported by the other hinges.
· Keep Screws Organized: Place the screws in a small container so you don't lose them. If you plan to reuse them, keeping them organized by hinge will be helpful.
· Check the Hinge Size: If you're buying a replacement, measure the old hinge and the distance between the screw holes to ensure you get an exact match.
Removing a self-closing door hinge is a manageable project that builds confidence for more advanced home repairs. By taking the time to understand the mechanism and following the safety precautions—especially when releasing the spring tension—you can successfully complete the task without any issues.
Now that you've mastered this skill, you're better equipped to handle other door-related maintenance and upgrades around your home.